
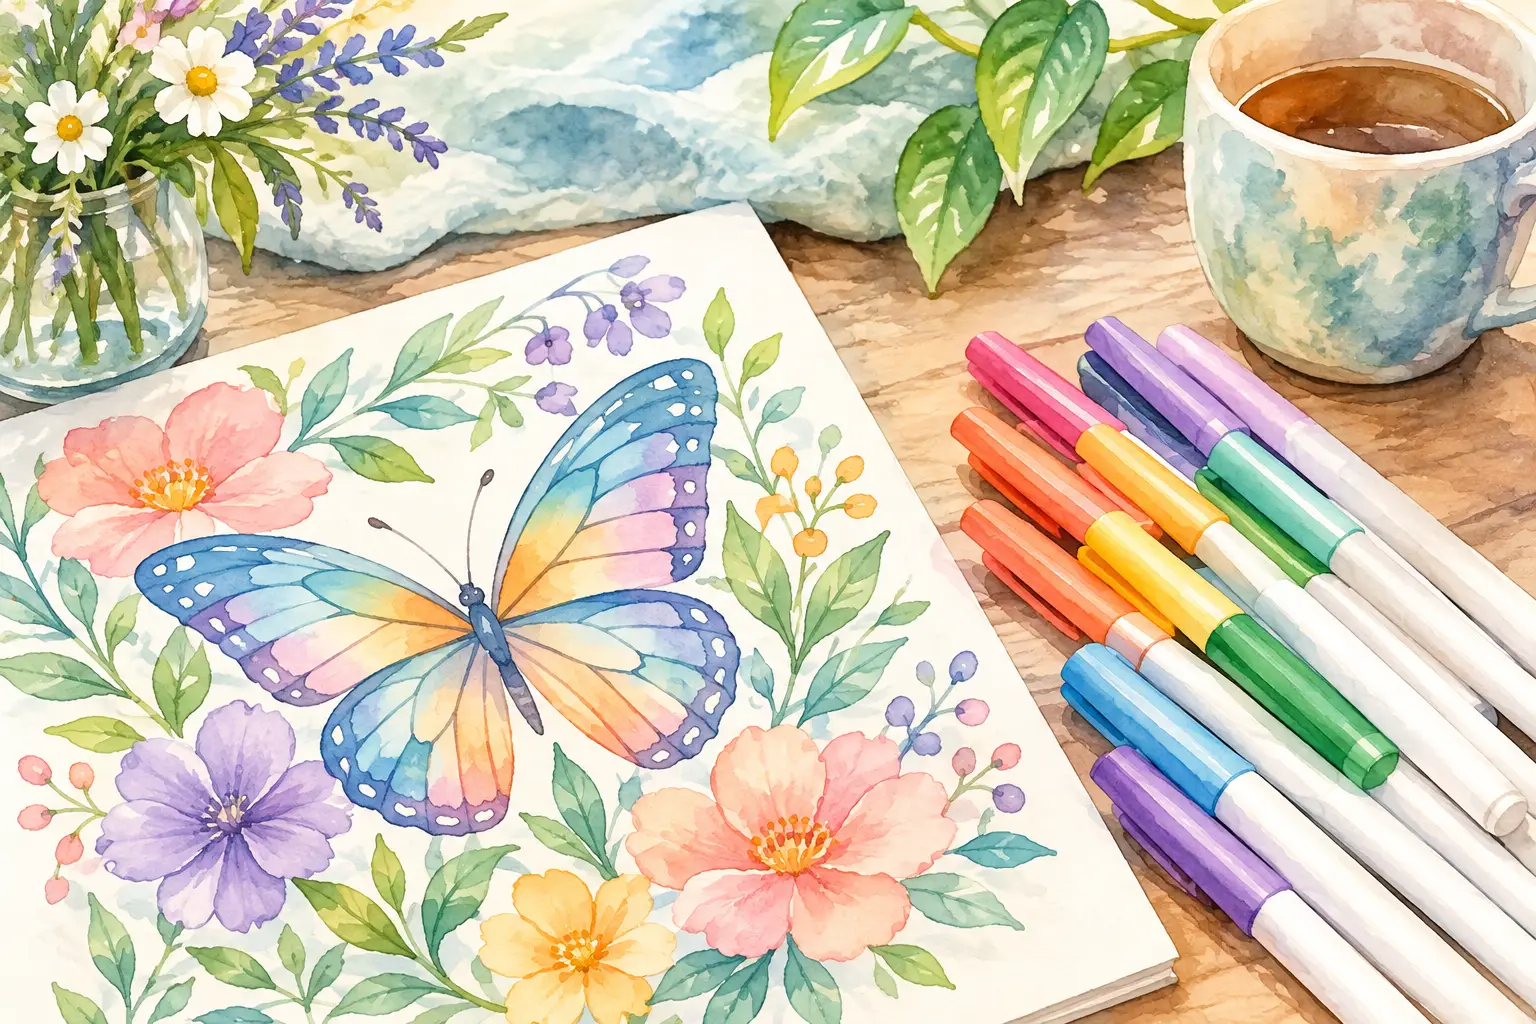
Best No Bleed Markers for Peaceful Coloring
A beautiful flower can lose a little of its quiet charm when color pushes through the page and appears on the design behind it. The best no bleed markers help protect that peaceful coloring time. They keep lines clearer, reduce unwanted show-through, and let you settle into a page without worrying about what is happening on the reverse side.
There is one gentle truth to keep in mind: no marker can promise zero bleed on every coloring book paper. The marker, the paper weight, the amount of ink, and even how long you pause in one spot all matter. Still, choosing the right kind of marker can make a meaningful difference.
What “No Bleed” Really Means
When colorists say a marker does not bleed, they may mean two slightly different things. Bleeding happens when ink spreads past the printed outline. Show-through happens when the color is visible from the back of the page. A marker may stay perfectly inside a petal but still show through thin paper.
For adult coloring books, the most dependable low-bleed choices are usually water-based markers with fine or medium tips. Their ink is generally easier to control than alcohol-based ink, which is designed to travel through paper and blend richly. Alcohol markers can create lovely, saturated color, but they are rarely the calmest choice for double-sided coloring pages.
Paper is the other half of the decision. A smooth, heavier page gives even a gentle marker more support. Thin, absorbent paper asks for a lighter hand and a little more patience. If a book has designs printed on both sides, a low-bleed marker is especially worth choosing.
The Best No Bleed Markers by Coloring Style
The right set depends less on artistic skill and more on how you like to spend your creative pause. Some people enjoy small, detailed leaves and patterned backgrounds. Others want to softly fill larger blooms without working for too long in one place.
Fine liners for detailed flowers and small spaces
Water-based fine liners are often the best starting point for detailed adult coloring books. They offer a narrow tip that fits easily into petals, stems, feathers, and tiny repeating patterns. Because the tip releases less ink at once, it is easier to stay within printed lines and avoid soaking the page.
Staedtler Triplus Fineliners are a popular option for this reason. Their slim, controlled tips suit botanical designs and other pages with delicate details. They also come in a broad range of cheerful colors, so it is easy to build a soft garden palette rather than rely on only a few bold shades.
Marvy Le Pen markers are another gentle fine-point option. They are especially appealing if you enjoy a smooth, simple pen-like feel. Their color range makes them pleasant for small accents, repeated motifs, and calm color blocking. On lighter paper, use a relaxed touch and avoid retracing the same spot several times.
Fine liners do have a trade-off. Filling a large background with a tiny tip can take longer than you may want. For a small evening reset, that can be soothing. For a full-page scene, it may feel more like a task.
Pigment pens for crisp accents and careful details
If your page includes very small details, pigment pens can be a thoughtful addition to a marker set. Sakura Pigma Micron pens are known for their precise tips and controlled ink flow. They are especially useful for adding subtle color to tiny areas, tracing a detail that has become faint, or bringing contrast to a small section of a nature design.
These pens are not the best choice for filling wide spaces. Their value is in their calm precision. Think of them as the finishing touch for a butterfly wing, a small cluster of berries, or the center of a flower.
Mild, translucent markers for soft color washes
For colorists who prefer a lighter look, Zebra Mildliners can create quiet, muted accents. Their soft, understated shades work nicely for pale leaves, skies, simple borders, and gentle layers of color. The chisel tip can cover a slightly wider area, while the finer end helps with narrower spaces.
Because Mildliners lay down more ink than a very fine liner, test them before using them across a full page. They tend to behave best when you use one light pass rather than pressing down or going back and forth repeatedly. Their soft colors can make this easier, since they do not demand a dense, fully saturated finish.
Brush-tip markers for single-sided pages
Water-based brush markers can be lovely for larger petals, leaves, and broad open areas, but they require a little more care. The flexible tip creates a beautiful range of marks, from thin to wide, yet it also places more moisture on the page. They are often best for coloring books with single-sided designs or thicker paper.
If you choose brush markers, begin with one small area near the edge of the page. Let it dry, then look at the back. If the page remains clean enough for your preference, continue with light layers. If it shows through, save the brush markers for a different book and use fine liners for this one.
How to Choose Markers That Stay Put
The packaging can feel busy, but the most useful details are simple. Look first for “water-based” ink. This does not guarantee no bleed, but it is usually a safer direction than alcohol-based marker sets for coloring books.
Next, consider the tip. Fine tips offer the most control and are usually the most forgiving on thin paper. Medium bullet tips are useful when a page has a mix of small and open areas. Brush and broad chisel tips are best reserved for paper you have already tested.
Color selection matters, too. A huge set can be fun, but a smaller palette of greens, florals, warm neutrals, and gentle blues may feel more inviting for relaxing coloring. You do not need every possible shade to make a page feel complete. A few colors used with ease can be more satisfying than a crowded case of supplies.
A Simple Test Before You Color
Before beginning a page you love, make a small swatch test. Choose a quiet spot near the bottom edge, on the inside cover, or on a page you are less attached to. Draw a few short strokes with each marker, using the same pressure you naturally use while coloring.
Wait a minute, then turn the page over. Check for show-through and for fuzzy edges around the lines. If the marker spreads, use less pressure, move more quickly, or choose a finer tip. If it shows through but does not spread, place a sheet of cardstock behind the page while you color. This will not stop the ink from appearing on the back, but it will protect the next design.
A blank sheet of paper is helpful, but cardstock is better. It creates a firmer surface and gives you a little more confidence when filling larger areas. Keep one tucked inside your coloring book, and it becomes part of your easy setup.
Small Habits That Prevent Bleed
Even the best no bleed markers perform better with a few gentle habits. Start with light pressure. A marker does not need to be pressed hard to leave color behind, and pressing can force extra ink into the paper fibers.
Color in one direction when possible. Short, calm strokes reduce the chance of repeatedly saturating the same patch of paper. For a larger leaf or petal, leave a small section uncolored, then return after the first section has dried. The page will often stay cleaner than if you work over the area again and again.
It also helps to let one color dry before placing a different color beside it. This is particularly useful around fine outlines and neighboring petals. A brief pause gives you a natural moment to breathe, choose the next shade, and enjoy the page as it slowly comes to life.
When Markers Are Not the Best Fit
If your coloring book paper is very thin and printed on both sides, colored pencils may be the more comfortable choice. They do not bleed through paper in the same way markers can, and they offer soft layering without much risk. Gel pens can also work beautifully for small highlights, although some may take longer to dry.
This does not mean you need to give up markers. You might use fine liners for the smallest details and colored pencils for broad backgrounds. Mixing tools can keep the experience easy and help each page feel balanced without asking too much from the paper.
For a restful coloring session, choose the marker that lets you forget about the marker. A fine water-based set, a piece of cardstock behind the page, and a few colors you genuinely enjoy are often all you need to slow the mind and make room for quiet enjoyment.