How to Prevent Marker Bleed While Coloring
A beautiful page can change quickly when color seeps past a petal, crosses a border, or marks the design on the other side. Learning how to prevent marker bleed helps keep coloring time feeling quiet and enjoyable rather than fussy. A few small choices – the marker, the paper, the pace, and what sits beneath the page – can make a noticeable difference.
Marker bleed is not always a sign that you are doing something wrong. Some ink is simply made to travel through paper. The goal is not perfect control at every moment. It is to choose a gentle approach that works with your coloring book and lets you settle into the page with more confidence.
What marker bleed really means
Bleed happens when wet ink passes through the paper fibers. It may appear on the back of the page, transfer onto the next page, or spread sideways beyond the printed line. Sideways spreading is often called feathering, while a faint shadow on the reverse side is sometimes called ghosting.
These differences matter because not every mark requires the same solution. If you can see a light shadow on the back but the next page remains clean, a protective sheet may be all you need. If ink is moving outside the lines as you color, the marker may be too wet for that paper, or your layers may be going down too quickly.
Alcohol-based markers are especially vivid and smooth, but they are also designed to saturate paper. They often bleed through ordinary coloring-book pages, even with a light hand. Water-based markers can be gentler, though very juicy brush pens and heavily applied washable markers may still soak through. Fine-tip markers and colored pencils usually offer the most control on lighter paper.
How to prevent marker bleed before you begin
The simplest protection starts beneath the page. Slide a piece of cardstock, a blotter sheet, a spare piece of printer paper folded in half, or a thin plastic mat behind the design you plan to color. This will not stop ink from traveling through the page, but it will keep it from reaching the artwork underneath.
Move the barrier with you when you turn to a new page. It is a small habit, but it allows you to use the colors you enjoy without worrying about sacrificing the next design. If your book has double-sided pages and you prefer markers, this step is especially helpful.
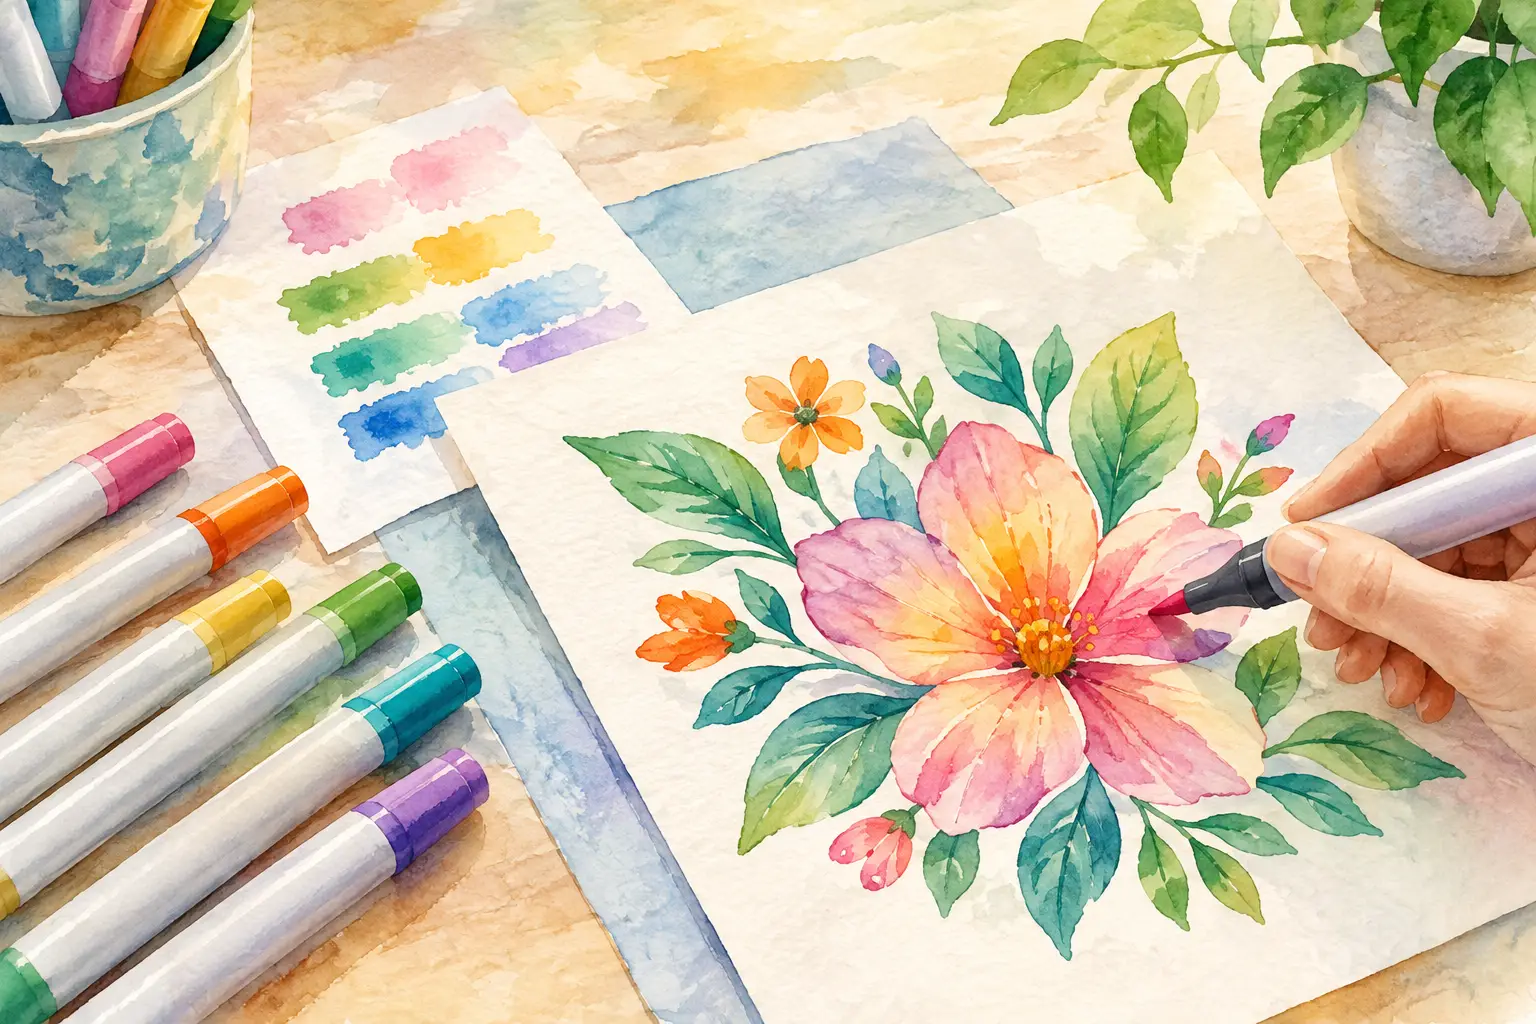
It also helps to test a small area before committing to a full illustration. Choose a corner, an unprinted margin, or a page you do not mind using as a sample. Make a few strokes with each marker, then check the back. Let the ink dry for a minute before deciding, since some colors spread a little as they settle.
A quick test tells you more than a label can. Paper weight is useful, but its surface, coating, and absorbency all affect how ink behaves. One brand of marker may sit neatly on a page while another blooms outward, even when both are described as water-based.
Choose the marker for the paper, not just the color
When a page has thin, absorbent paper, consider reaching for colored pencils, gel pens, fine liners, or light water-based markers. These tools can still create rich, peaceful color, especially when you build tones slowly. A floral page does not need a fully saturated background to feel complete. A soft yellow center, a few shaded leaves, and a warm pink bloom may be enough.
If you love the look of alcohol markers, reserve them for single-sided designs, marker paper, or pages you are comfortable removing from the book. This is a trade-off, not a rule. Alcohol markers offer effortless blending and bold color, but they ask more of the paper. Using them on lightweight double-sided pages may mean enjoying one finished side while accepting that the reverse side is no longer usable.
Use less ink than you think you need
Many coloring pages bleed because the same spot receives too much ink too quickly. A marker can look pale during the first pass, which makes it tempting to keep going. Give that first layer a moment to dry before adding more. The color often deepens as the moisture settles into the paper.
Work with light, even strokes instead of pressing hard. Pressure does not usually make a marker darker in a helpful way. It can force more ink into the fibers and soften the paper, making the next stroke less predictable. Let the tip glide over the page. This creates a calmer rhythm and gives you more room to adjust the color.
Try coloring from the edge of a shape inward rather than repeatedly pushing the tip toward the outline. Begin just inside the printed border, then fill the center with gentle strokes. This leaves less pooled ink near the line, where feathering is easiest to notice.
For larger spaces, avoid scrubbing back and forth in the same area. Use one direction for your strokes, overlap them lightly, and pause. If the page begins to feel damp or looks slightly wavy, set the marker down for a minute. A small break protects the paper and gives your hands a chance to relax, too.
Layer slowly for deeper color
Layering can create lovely dimension without flooding the page. Start with a pale shade, let it dry, then add a second pass only where you want more depth. On leaves, that might mean a touch of darker green near the stem. On petals, it could be a soft shadow at the base.
This method is particularly useful with water-based markers and brush pens. It depends on the paper, though. Very thin paper may still struggle with repeated layers. When that happens, switch to a colored pencil for shadows rather than adding a third or fourth layer of marker. Mixed tools can make a page feel more textured and personal while keeping the paper comfortable.
Keep marker tips clean and controlled
A frayed brush tip or an overloaded broad tip can release ink unevenly. Before coloring detailed areas, make a few test strokes on scrap paper. This wakes up the ink flow and lets you see whether the marker is behaving smoothly.
If you have just used a dark marker beside a pale one, give the darker area a little drying time. Colors can transfer from one wet section into another when they meet at the edge. Coloring non-adjacent sections first is an easy way to avoid accidental blending. You might color a flower on the left side of the page, then a few leaves on the right, before returning to the petals.
Cap markers promptly when you pause. A dried tip may encourage harder pressure, while a marker that is leaking or unusually wet may be nearing the end of its useful life. Neither has to ruin a page, but both are worth noticing before you begin detailed work.
Protect the finished page
Once a page is complete, let it rest flat until the ink is fully dry. Closing a book too soon can transfer color, especially with saturated markers or humid conditions. If the paper curls slightly, place a clean sheet over it and rest a heavy book on top for a few hours. Keep the pressure gentle and even.
For pages you would like to save, frame, or display, consider using the protective sheet as you color and leaving it in place until the design has dried. This reduces the chance of a surprise transfer when you turn the page. It also makes it easier to enjoy the finished piece without inspecting every corner for a mistake.
If bleed-through does happen, be kind to the page and yourself. You can often still enjoy the front design, add colored pencil details over dry marker, or turn the reverse side into a simple notes page. A little imperfect color does not take away from the time you made for yourself.
Coloring is meant to be a gentle pause, not a test of precision. With a barrier sheet, lighter layers, and markers that suit the paper, you can spend less time managing ink and more time enjoying the quiet pleasure of watching a page come to life.